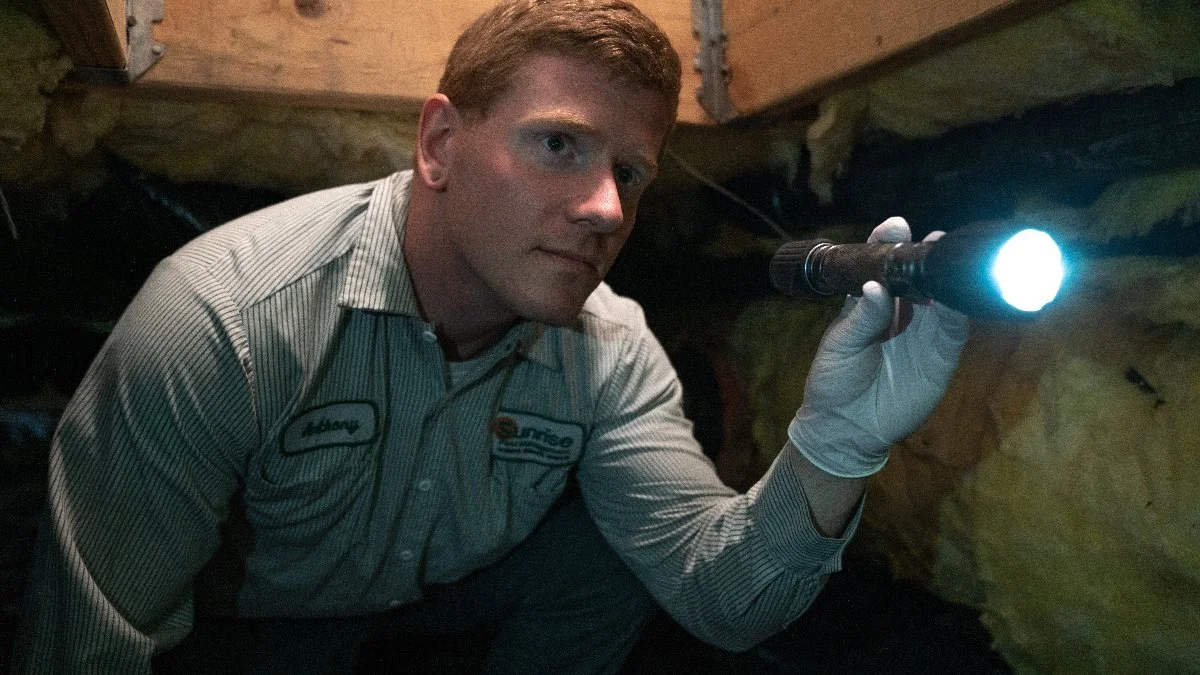
A pest control inspection feels a lot less stressful once you know what actually happens during the visit. If you have ants in the kitchen, scratching in the attic, or odd brown patches in the lawn after a wet Bremerton week, this walkthrough will show you what to expect, how to prep, and what a useful pest control inspection should leave you with.
What a pest control inspection covers and why it matters
A pest control inspection is a focused check of your property for signs of pest activity, entry points, moisture issues, and conditions that make pests more likely to stick around. It is not just someone glancing around for bugs in plain sight. The point is to connect clues, figure out where the issue started, and spot risks before they turn into wood damage, contaminated storage, or turf that needs expensive repair. That matters because pest problems rarely stay small on their own. Rodents keep using the same travel paths. Moisture keeps attracting ants and silverfish. Termites do not announce themselves nicely. A good visit helps you catch the story behind the problem, not just the symptom you happened to notice first.
What you’ll need before the visit
You do not need to stage the property like an open house. You just need to make it possible to inspect the places pests actually use.
Basic access to key areas
Clear access makes the visit better, full stop. If crawl spaces, attics, garages, utility rooms, fence lines, sheds, and landscape edges are blocked, parts of the property become guesswork. Even shifting a few storage bins away from the wall can reveal droppings, mud tubes, grease marks, or moisture staining that would otherwise stay hidden.
A short list of recent pest activity
Small details help more than you think. Write down where you saw ants, when you heard scratching, where droppings showed up, or which lawn area looks chewed up or thinned out. “Ants near the kitchen window at 7 a.m.” is far more useful than “bugs in back somewhere.”
Pets, gate codes, and parking details
A few practical details can save a surprising amount of time. Secure pets, share gate or building access info, and mention parking quirks ahead of time. In tighter neighborhoods around Kitsap County, a delayed arrival can be as simple as a locked side gate or nowhere obvious to pull in.
Step 1: confirm the appointment and ask what kind of inspection you’re getting
1. Confirm the date, time, and property address. 2. Ask what type of inspection is scheduled. 3. Make sure the service matches your actual concern. Not every inspection covers the same ground. A general pest visit usually looks for common invaders like ants, spiders, roaches, and rodents. A termite inspection is narrower and more structural. A lawn and turf inspection focuses on soil, grass health, drainage, and signs of insects or disease. A real-estate-related inspection may follow a specific reporting format.
Know the goal of the visit
A preventive inspection and a problem-based inspection are not the same thing. If the goal is routine monitoring, expect a broad review of risks and early warning signs. If the goal is an active issue, expect more attention on the room, wall, lawn section, or outbuilding where activity has already shown up.
Ask about timing, access, and follow-up
1. Ask how long the visit usually takes. 2. Ask whether you need to be on-site. 3. Ask what you will receive afterward. A smaller home with one concern may take less than an hour. A larger commercial site or property with multiple trouble spots can take longer. Before the visit starts, you should know whether you are getting verbal notes, photos, or a written report.
Step 2: get the property ready without overdoing it
1. Pick up only what blocks inspection areas. 2. Open access points in advance. 3. Leave visible evidence alone. The trick is to make the problem visible, not to deep-clean every inch. Think of it like taking your car to a mechanic. Washing the outside is fine, but hiding the rattling noise would defeat the point.
Clear clutter near walls and entry points
Move boxes, bins, stacked supplies, or stored items away from baseboards, doors, garage edges, and wall corners. Pests love protected edges. So do inspectors, for a different reason. Those lines often hold the clearest signs of travel and nesting.
Open up hidden or hard-to-reach spaces
1. Open attic hatches. 2. Unlock crawl space doors. 3. Unblock utility closets. 4. Open under-sink cabinets. That way, inspection time goes toward checking conditions instead of tracking down keys or shifting things around.
Leave evidence in place if you noticed something
If you found a trail of ants, droppings under a sink, or a patch of disturbed turf, do not rush to erase it right before the visit. Fresh evidence tells a cleaner story than memory. A chewed corner, a grease smear along a wall, or a small pile of frass, which is insect debris that looks like sawdust, can point straight to the source.
Step 3: expect an exterior inspection first
1. Walk the outside perimeter. 2. Check structural edges and openings. 3. Look at the yard, lawn, and outbuildings. Most inspections begin outside because that is where many problems begin. Water pooling near the foundation, shrubs touching the siding, and wood sitting directly on damp soil can act like an invitation.
Foundation, siding, doors, and windows
Expect a close look at cracks, gaps, worn seals, damp areas, and spots where pests can squeeze in. Rodents do not need much room. Ants need even less. If doors do not seal well or window frames show moisture wear, that gets attention.
Roofline, vents, eaves, and crawl space openings
Upper and lower edges matter because pests use both. Rooflines and eaves can hide nests or entry points. Vents and crawl space openings can reveal damaged screens, moisture buildup, or signs of rodent access.
Yard, lawn, and landscaping conditions
Landscape conditions tell a lot. Deep mulch, standing water, overgrown shrubs, wood piles, and stressed turf can all support pest activity. In lawn areas, thinning grass, spongy patches, or disturbed soil may point to insects below the surface rather than a simple watering issue.
Outbuildings, fences, and perimeter trouble spots
Detached garages, sheds, fence lines, and wood-to-soil contact areas often get missed by property owners and noticed quickly during inspections. Those edge zones can work like a back door into the main structure.
Step 4: expect an interior room-by-room walkthrough
1. Start with rooms tied to water or food. 2. Check hidden structural spaces. 3. Review living, work, or customer-facing areas as needed. Once the visit moves indoors, the goal is to connect inside evidence with outside conditions.
Kitchen, bathrooms, and laundry areas
Moisture-heavy rooms get extra attention because pests follow water the way people follow coffee in the morning. Under sinks, around plumbing, behind appliances, and near drains are common inspection points for ants, roaches, silverfish, and similar pests.
Basements, crawl spaces, attics, and garages
These hidden areas often show the first signs of rodents, termites, and moisture trouble. Even if the main rooms look perfectly normal, insulation disturbance, droppings, nesting material, or damp wood in these spaces can reveal a bigger issue.
Bedrooms, offices, and common areas
If bites, droppings, odors, or unusual sightings have been reported, sleeping areas, workspaces, and shared rooms may be checked too. This matters in both homes and businesses, especially when the pattern of activity is inconsistent.
Commercial spaces and high-traffic zones
In offices, retail spaces, warehouses, and managed buildings, storage practices and foot traffic change the inspection. Deliveries, food break areas, inventory corners, and trash handling all affect risk.
Step 5: learn what the inspector is actually looking for
1. Signs of active pests. 2. Conditions that support pests. 3. Evidence of damage. Here’s the thing: finding no live bugs in the middle of the day does not mean nothing is wrong.
Signs of active pests
Common clues include droppings, nests, live insects, grease marks along walls, chew damage, mud tubes, turf thinning, and disturbed soil. The visit is part detective work, part property checkup.
Conditions that invite future problems
Leaks, crumbs, clutter, poor drainage, gaps around utility lines, and dense plants close to the building all matter. Even without active pests, those conditions can explain why problems keep returning.
Damage versus nuisance activity
Some pests are mostly annoying. Others damage wood, insulation, wiring, inventory, or grass root systems. That distinction shapes urgency. A few spiders on a porch are one thing. Termite activity in framing is another story entirely.
Step 6: ask questions during the inspection
1. Ask where the issue started. 2. Ask what you can fix yourself. 3. Ask how urgent the problem is. A silent appointment leaves too much room for second-guessing later.
Ask where the problem started and how it spreads
Good questions get you past the obvious. Ask if the issue looks seasonal, tied to moisture, connected to storage habits, or likely to spread through walls, rooflines, or landscape beds.
Ask what needs to be fixed by you versus treated by the provider
Some fixes are simple, like trimming plants back, improving storage, or sealing a gap. Others need treatment products, baiting systems, exclusion work, or equipment. Knowing which is which keeps you from wasting time on the wrong part.
Ask about urgency and risk
You want a straight answer here. Is this a fast treatment situation, a monitor-and-watch issue, or mainly a prevention job? That answer helps you prioritize.
Step 7: review the findings and recommendations before the visit ends
1. Go over what was found. 2. Confirm where it was found. 3. Review the proposed fix. A good wrap-up should feel clear, not vague.
Photos, notes, and mapped trouble areas
Photos and simple notes help a lot, especially if multiple rooms, buildings, or lawn sections were checked. Trouble spots are easier to remember when you can see them.
Treatment options and prevention steps
Recommendations may include sealing entry points, reducing moisture, improving drainage, trimming vegetation, changing storage habits, or scheduling treatment. If a provider suggests ongoing service, you should understand why.
Timing, cost range, and follow-up visits
Before the visit ends, ask when treatment should happen, how long results usually take, and whether a recheck is part of the plan.
Common issues that can delay or limit the inspection
Blocked access to crawl spaces, attics, or wall edges
Packed storage, locked gates, sealed utility spaces, and furniture pressed tightly against walls can leave blind spots. If key areas stay hidden, the report can only go so far.
Weather, moisture, and seasonal pest patterns
Washington weather changes what is visible on a given day. Heavy rain, cold snaps, and dry stretches can affect pest movement and lawn symptoms without removing the underlying issue.
Missing context about where activity happens
Vague reports slow things down. A simple note about time, place, and pattern gives the inspection a much better starting point.
Troubleshooting: what to do if the report feels unclear or the problem keeps coming back
Ask for plain-english clarification
If a report mentions “conducive conditions,” ask for the plain version. Usually that just means the property has conditions that make pests more likely, such as moisture, clutter, or easy entry points.
Request a focused follow-up for stubborn problem areas
If one room, one wall, one shed, or one turf section keeps acting up, ask for a more targeted return visit. A narrower follow-up can be more useful than repeating the whole inspection.
Track what you notice after the visit
Keep a short log of sightings, sounds, smells, and timing. That pattern can make the next step much more accurate.
What to expect after the inspection
If no major problem is found
An all-clear usually still comes with prevention advice. Sealing a small gap or cutting back vegetation now is a lot easier than dealing with an active infestation later.
If treatment is recommended
The next appointment may need a little prep, depending on the issue. You should know what gets treated, how results are checked, and what improvement should look like.
If you manage a business or larger property
Reports can support tenant updates, maintenance planning, seasonal protection, and repeat inspections. That paper trail matters when multiple units, buildings, or landscape zones are involved.
What the finished result should look like
By the end of the visit, you should have a clear picture of what pest activity is happening, where risk is highest, what damage or warning signs exist, and what to try first. That is the real value of a pest control inspection: less guessing, fewer surprises, and a practical plan you can actually use. Before the visit, take five minutes to jot down where you noticed activity most recently. That one small step makes the whole appointment sharper.
* Disclaimer: This article is for general informational purposes only. It is not professional advice, a quote, or a service agreement. Conditions at your home or property may differ; contact a qualified professional for an on-site evaluation before making repair, safety, or spending decisions.